Saturday, February 21, 2009

Create a sliding credit screen in VB .NET

Difficulty : Very Easy


Time to Complete : 10-15 minutes


Click the images for larger images!


Most of you must be familiar with the sliding credits screen in many different software. When you click the about box in the software, you are presented with a sliding text moving upwards with nice music. So lets see how to do it with Visual Basic .NET 2008


Start either Visual Studio 2008 or Visual Basic Express 2008. This works in Visual Studio 2005 and Visual Basic Express 2005 as well.


Go to File –> New Project and select “Windows Forms Application” under Visual Basic –> Windows. (See the pane to your left). Rename it below to Credit Screen or what you think is appropriate.


Step 1


ScreenHunter_06 Feb. 21 11.51


Now lets fit in the components :)


Ingredients


1 Label with whatever text you want do display


2 Timers


Few lines of coding


Lets start cooking!


First drag and drop 2 Timers to the screen. Timers are found in the Toolbox which is to your left of screen (usually!) under Components.


Timer is a component which will repeatedly execute a command or set commands at an interval specified. You can use a Timer to change something every 1 second or every 10 seconds. So we are using a Timer now to change the background color! Neat, eh? :)


ScreenHunter_09 Feb. 21 12.05


Notice that now you have 2 Timers in the bottom pane of the screen.


So Timer1 is going to be take care of the colors! Oh yes colors! I’m pretty sure you don’t want the text to slide up in some empty boring background. So we will be making the screen display random colors while our text is sliding up.


Now lets change the properties of “Timer1”. Properties are displayed in a small box usually to the bottom right of the screen. Properties are different attributes of components which is used to change how the components look and behave.


Now change the properties of Timer1.


  • Enabled –> True


  • Interval –> 100


By setting the Enabled property to True we are telling the computer that the Timer will be acting and executing its commands at run time. The interval is how often the commands should be executed.


Now that the properties are changed, lets code for the Timer. Double click the Timer1. You will be presented with the coding window which will look something like below.


ScreenHunter_11 Feb. 21 12.29


Private Sub Timer1_Tick(ByVal sender As System.Object, ByVal e As System.EventArgs) Handles Timer1.Tick
'Whatever your coding
End Sub


The coding between the above 2 lines are the lines which will be executed at the specified interval, in our case each 100 milliseconds the ‘Whatever your coding line will be executed. But as a ' is at the beginning of a line which means the line is comment, it will not execute the line.


Now what we are actually going to to is create random colors at each interval of the timer and assign them as the background color at the same time. So we need variables to hold the colors. Probably you must be knowing that almost all the colors in this world can be created with the primary colors RGB. Red. Green. Blue. If you do not understand it now, dont worry! You will later!


OK…now we know what the Timer does lets get to the real coding! yippee!


'We create 3 Integer Variables to hold the Red, Green, Blue colors


Dim Red, Green, Blue As Integer


'Do not panic! As soon as you type this message you will

'get a warning about Unused Local variable 'Red' etc


'Its just saying that we have declared but have not taken


'any use from the variable


'Now we create a random number generator.
'A Random number generator will generate random numbers
'given a specific range


Dim RandomNumGenerator As New Random

'Now we are going to assign each variable a random


'number between 0 and 255. The strategy in this is


'that each color is represented with a value ranging from 0
'to 255 for each Red, Green and Blue values

'Example:- Giving a value between 0 to 255 to each Red, Green and Blue

'we can create colors


'Black is (0,0,0) white is (255,255,255).


Red = RandomNumGenerator.Next(0, 255)
Green = RandomNumGenerator.Next(0, 255)
Blue = RandomNumGenerator.Next(0, 255)


 'Now that we have created 3 numbers lets use them for creating a Red, Green, Blue mixed color


Me.BackColor = Color.FromArgb(Red, Green, Blue)


'We have now setup the back color of the Form
'Me is used to call the form that is currently we are coding for
'BackColor is the property that is used to set or get the Back Color
'Color.FromArgb is a function which will return a color when Red, Green and Blue values are given.


Now that everything is set up! Lets roll!


Private Sub Timer1_Tick(ByVal sender As System.Object,
ByVal e As System.EventArgs) Handles Timer1.Tick
Dim Red, Green, Blue As Integer
Dim
RandomNumGenerator As New Random
Red = RandomNumGenerator.Next(0, 255)
Green = RandomNumGenerator.Next(0, 255)
Blue = RandomNumGenerator.Next(0, 255)
Me.BackColor = Color.FromArgb(Red, Green, Blue)
End Sub

Now this is the code to change the background color… so lets see about the scrolling part…


The scrolling part is pretty easy! All you’ve gotta do is insert the following code for the Timer2’s Tick event


Label1.Location = New Point(Label1.Location.X,
Label1.Location.Y - 1)


Now the Label1 which is somewhere on the form will gradually rise up with each tick of Timer2 because we are steadily keeping the Location X to it self but reducing 1 from the Y coordinate!


The final coding will look like


Public Class Form1

Private Sub Timer1_Tick(ByVal sender As System.Object,
ByVal
e As System.EventArgs) Handles Timer1.Tick
Dim Red, Green, Blue As Integer
Dim
RandomNumGenerator As New Random
Red = RandomNumGenerator.Next(0, 255)
Green = RandomNumGenerator.Next(0, 255)
Blue = RandomNumGenerator.Next(0, 255)
Me.BackColor = Color.FromArgb(Red, Green, Blue)
End Sub

Private Sub
Timer2_Tick(ByVal sender As System.Object,
ByVal
e As System.EventArgs) Handles Timer2.Tick
Label1.Location = New Point(Label1.Location.X,
Label1.Location.Y - 1)
End Sub
End Class


Hope you enjoy!

Wednesday, February 18, 2009

Await some tutorials

Hey! I could not write anything after my HDX 16t laptop review because

* I was lazy

* I was busy! :P


Anyway my exams are going to be over soon and i hope to come with some new tutorials…

So await for some new tutorials…

Sunday, December 21, 2008

HP HDX 16t Premium Notebook PC Review

Couldn't write the first official post for the tech-by-step just because i was lazy! :P
So here i am again reviewing my recently bought notebook...

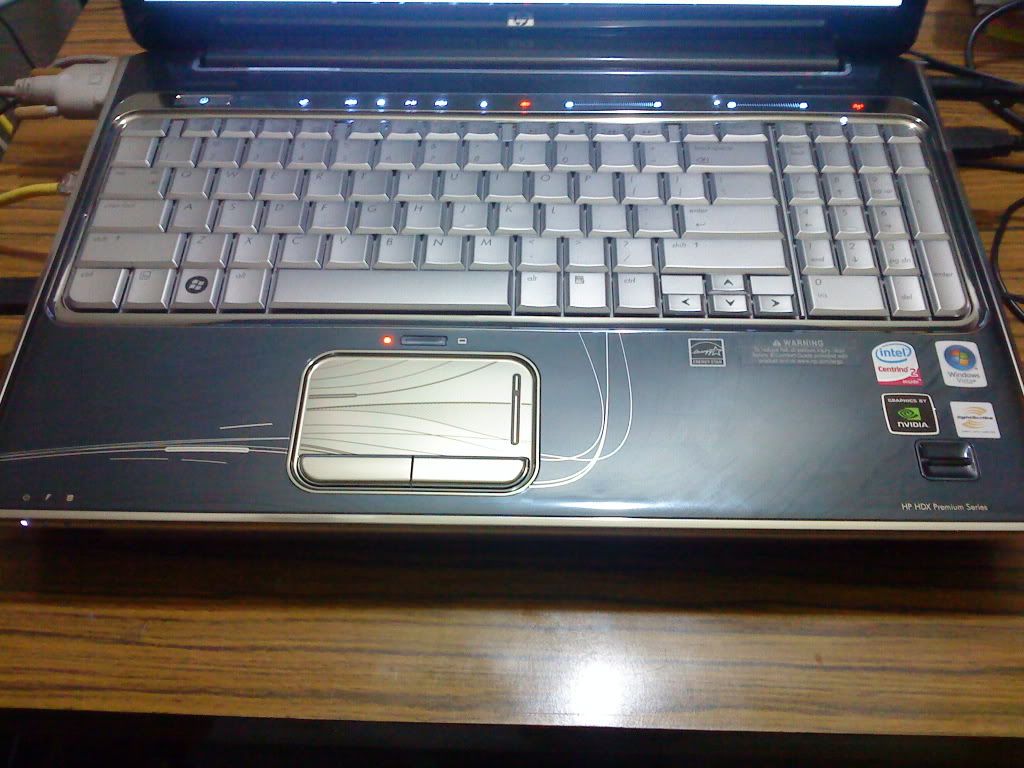
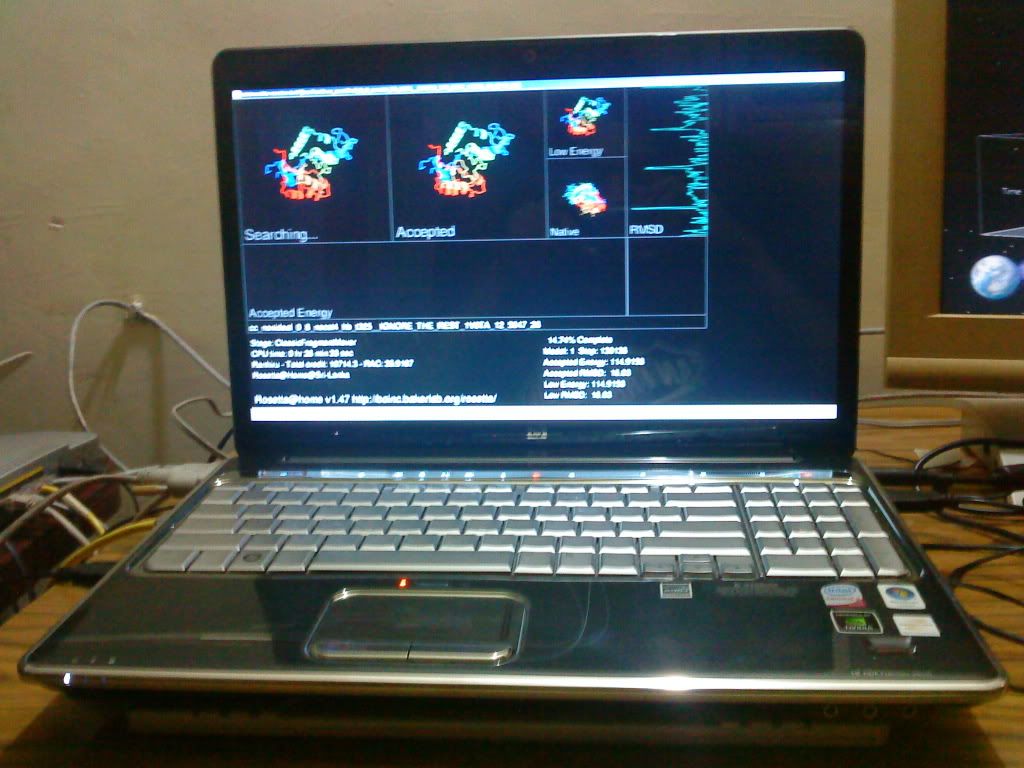
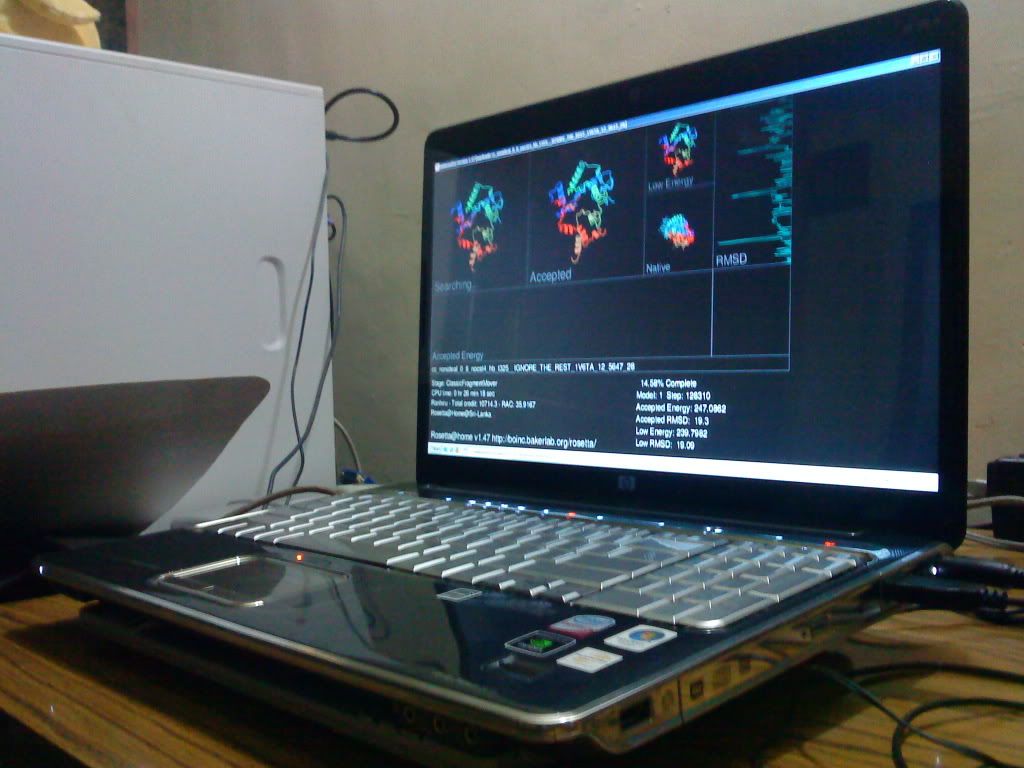
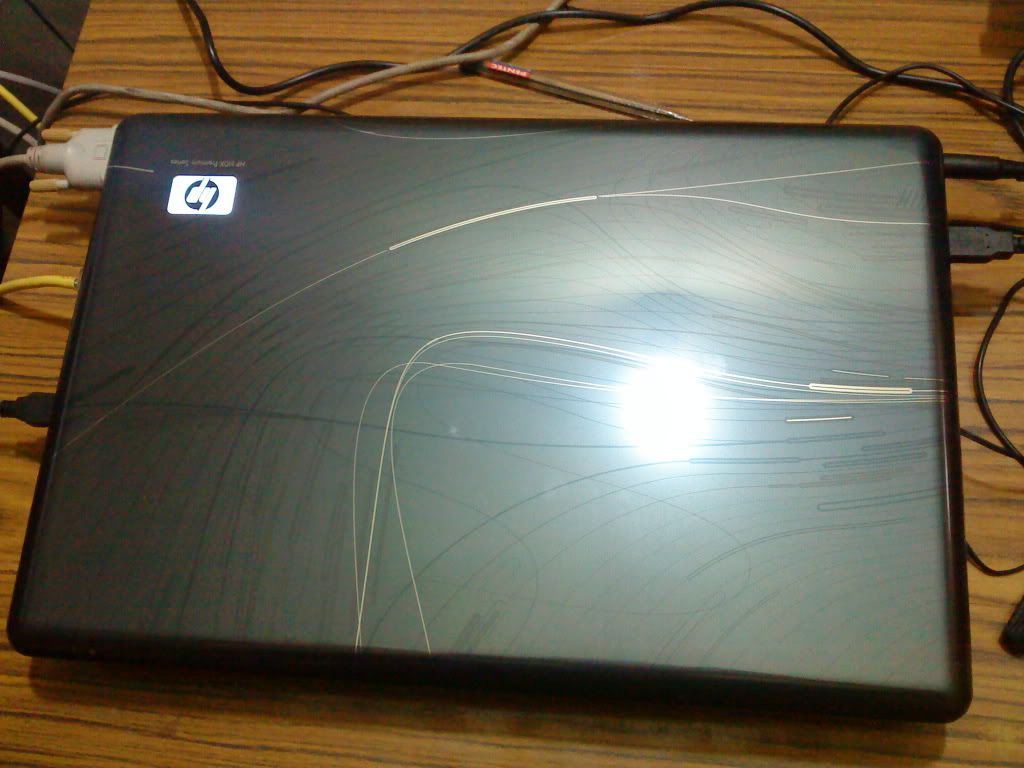
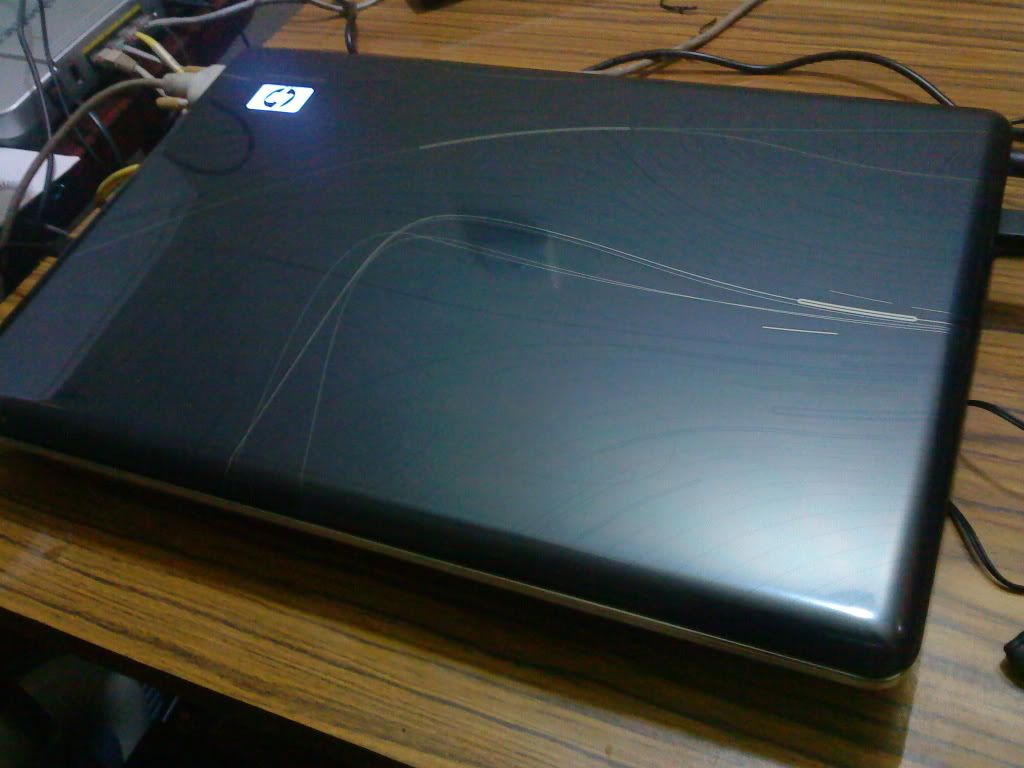
Right now nothing comes in to my mind but my laptop! Yes! A new one! A HP HDX 16t Premium Notebook! The only reason i want to write about my laptop is because i found little or no information (especially pictures!) about it on the web! So ill be posting some pictures as well! Hope this will help all who are looking forward to buy a HP HDX 16t Notebook.

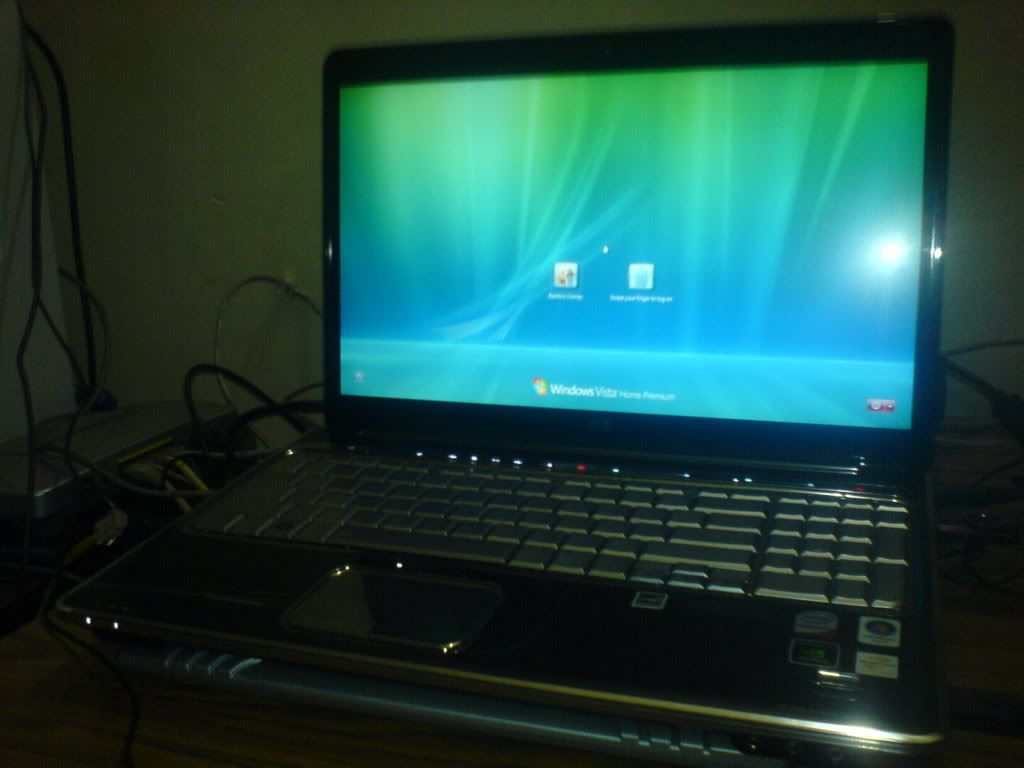
OK.... so lets start off with the basics! Here's how it looks!


For anyone who wonder what on earth is the software I'm running, its called Rosetta@Home! Google It! :)

Anyway, back to the laptop! Here are the specifications for my laptop!

Genuine Windows Vista Home Premium with Service Pack 1 (64-bit)
The reason i chose a 64-bit Operating System is because of all the buzz going on in the web that a 32-bit OS will not support 4GB of RAM!!! Why take a risk! Chose 64-bit just to be on the safe side

Intel(R) Core(TM)2 Duo Processor T9400 (2.53 GHz)
This T9400 Processor is just about 0.1 percent extra GHz from 2.4 GHz P8600. The time i bought my laptop i could have saved 100$ by reducing the processor to 2.4GHz. But if you take a look at the Intel website you will know why i spent extra 100 bucks!

P8600
http://processorfinder.intel.com/details.aspx?sSpec=SLB3S

L2 Cache Speed - 2.4GHz
L2 Cache Size - 3MB

T9400
http://processorfinder.intel.com/details.aspx?sSpec=SL3BX

L2 Cache Speed - 2.53GHz
L2 Cache Size - 6MB

The cache size is doubled from 3MB to 6MB!! Its a major performance boost!

So why didn't i choose the T9600? Simple! Because it was an extra $250 which i was not willing to pay! :)

4GB DDR2 System Memory (2 DIMM)
More RAM = More programs you can run simultaneously without slowing down your PC :)

512MB NVIDIA GeForce 9600M GT
This was the only available card for this laptop! Damn i wish there was a 9800M!

250GB 7200RPM SATA Hard Drive with HP ProtectSmart Hard Drive Protection

What the hell is RPM? RPM stands for Revolutions Per Minute. Well it means how many somersault's your hard disk can do for a minute! :D
Out of jokes, its how fast your hard disk spins.
The faster, the better hard disk seek time = more performance for your applications!
But there is a trade off! (DAMN!) This 7200 RPM HDD tends to be more HOT (The Celsius and Fahrenheit HOT :P) And thats why i ordered a Chill Mat along with my laptop!

OK... now What on earth is HP Protect Smart Hard Drive Protection? Here what it said in the Help Menu of ProtectSmart software...

ProtectSmart Hard Drive Protection protects your disk drive by parking the drive and halting I/O requests when one of the following events occurs:

You drop your computer.
You strike another object with the computer.
You move your computer with the display closed while the computer is running on battery power.

A short time after one of these events, ProtectSmart Hard Drive Protection returns the disk drive to normal operation.

Intel Next-Gen Wireless-N Mini-card
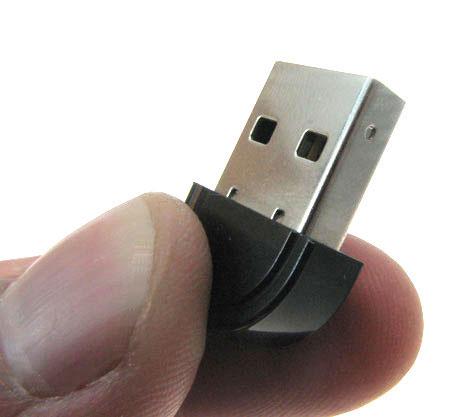
Well..I didn't integrate Bluetooth to the laptop because i was not ready to pay an extra 50$ for bluetooth where i can buy a Nano Bluetooth adapter for $8~$10


LightScribe SuperMulti 8X DVD+/-RW with Double Layer Support
This is the only i thing i worry about! That i could not buy a Blue-Ray Reader. Well Blue Ray Discs are now becoming really popular and not having a BR-Reader.... *sniff* *sniff*

Webcam + Microphone + Fingerprint Reader
Well the webcam is AMAZING!! Very high quality pictures + the built in light brighten ups your video. You can completely turn off all lights and still talk with your [WHOEVER]! The included CyberLink YouCam software makes it so much FUN for video chatting! It even includes animated 3D figures which will move and talk the same way you do in REAL TIME! And in 1 press of a button your figure will be talking with your friend and you can conceal your identity :P :P

I dont have any bad comments to say about the mic either! Works well!

Finally the Finger Print Reader! Its just AWESOME! I login to Windows Vista using my finger print and also the DigitalPersona Personal software lets me create finger print logins to all my softwares! Now i just swipe my finger to login to Messenger! And the DigitalPersona Addon for Firefox does miracles! I just swipe my finger to login to Yahoo Mail and all of my favourite websites! Its just really cool!

Well lets hit the bottom line!

Advantages
  • Its FAST
  • Its REALLY GOOD LOOKING!
  • Good set of features!
Disadvantages
  • A bit heavy ( A lil bit! No it does not weigh A LOT!)
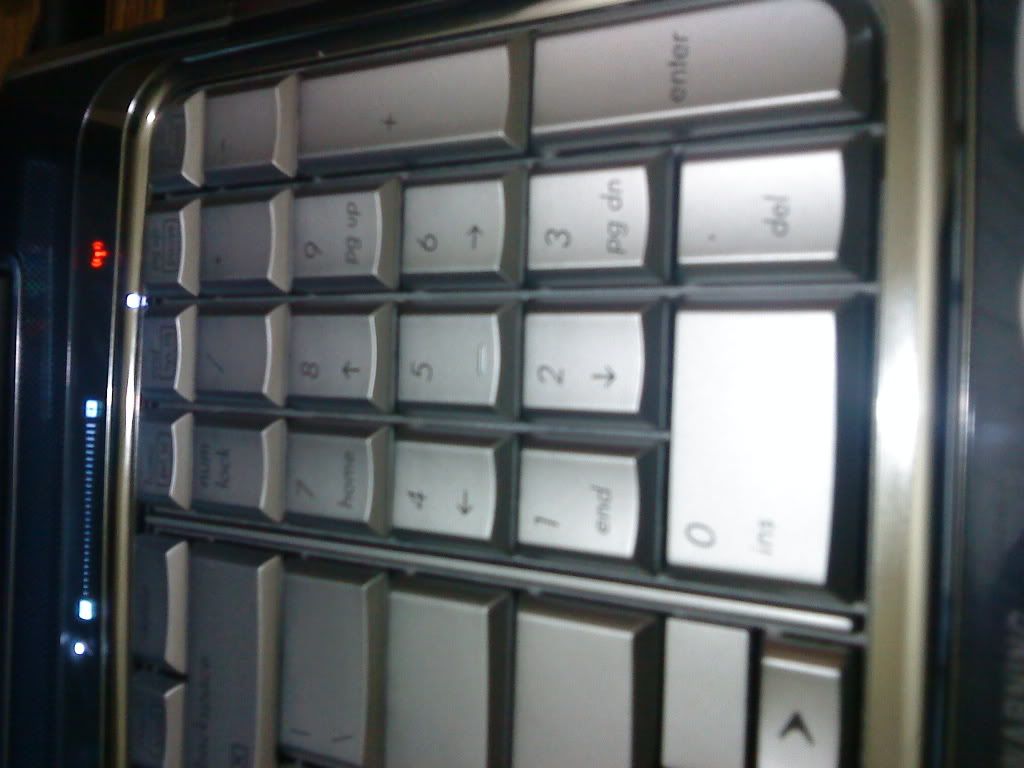
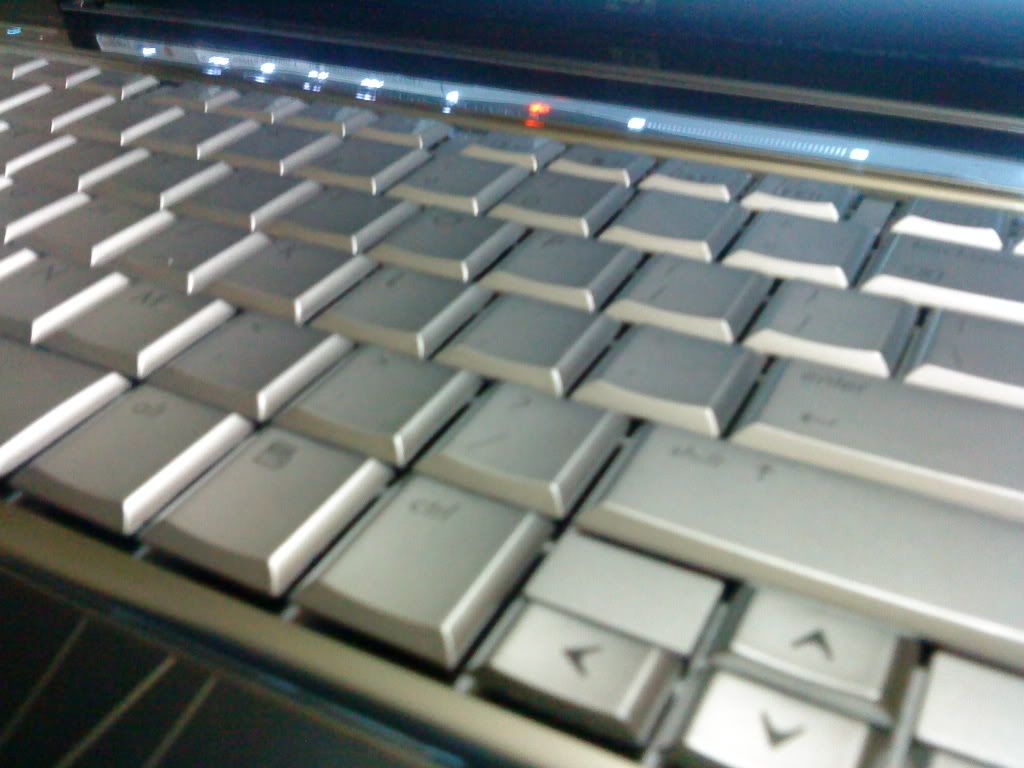
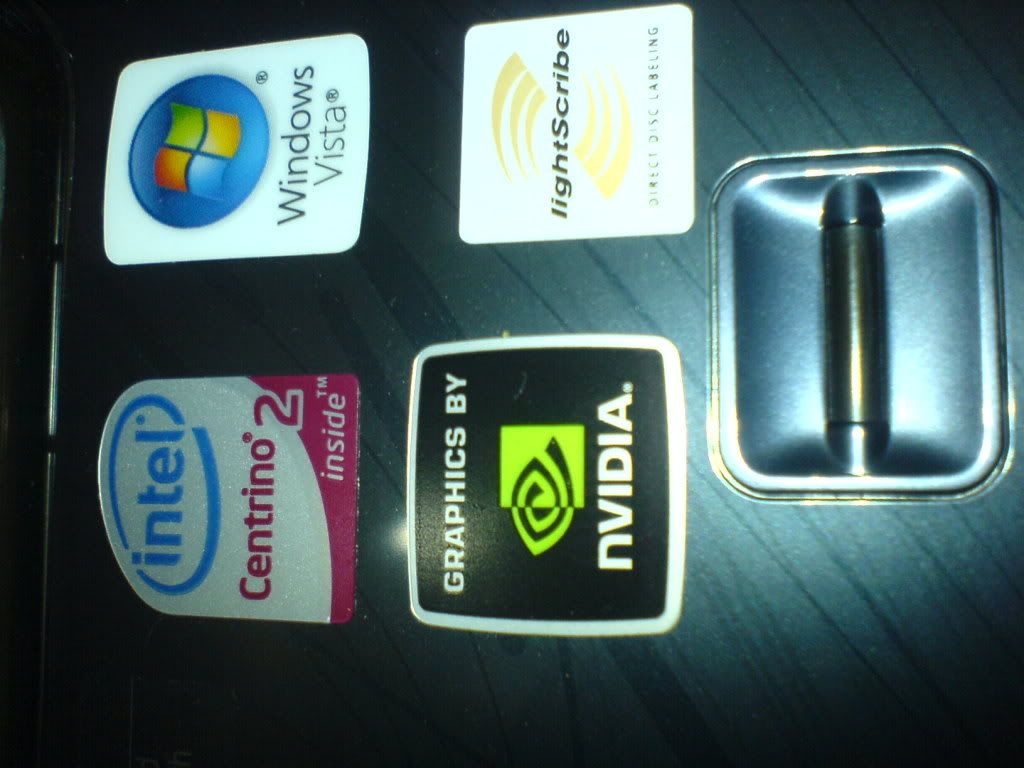
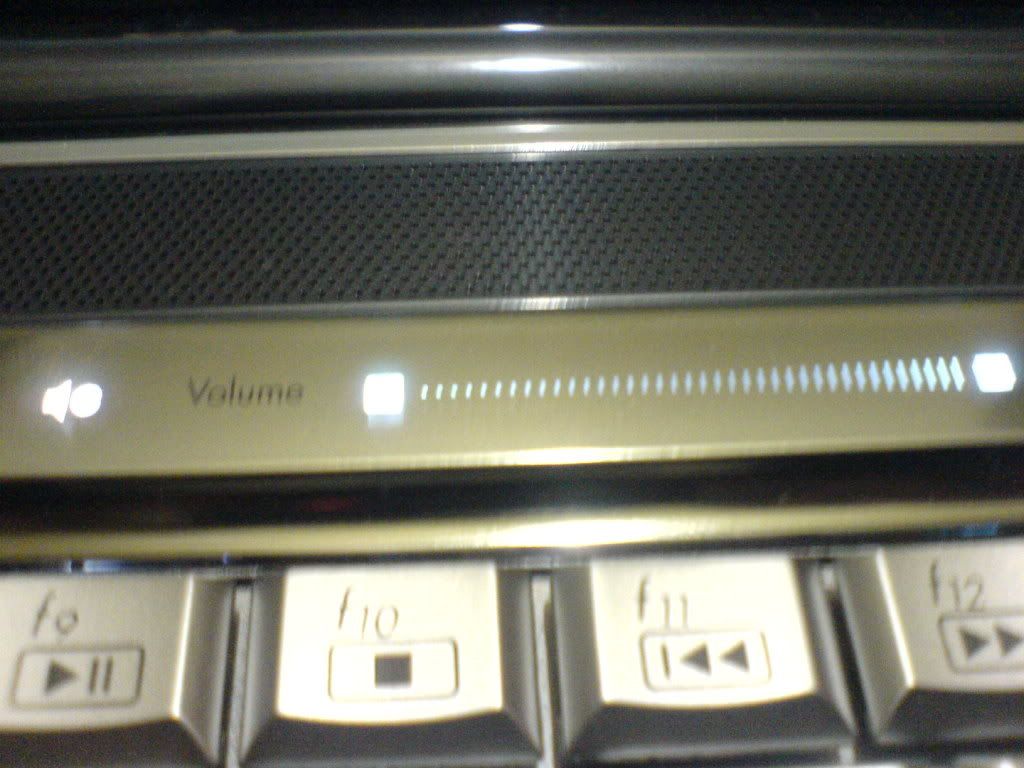
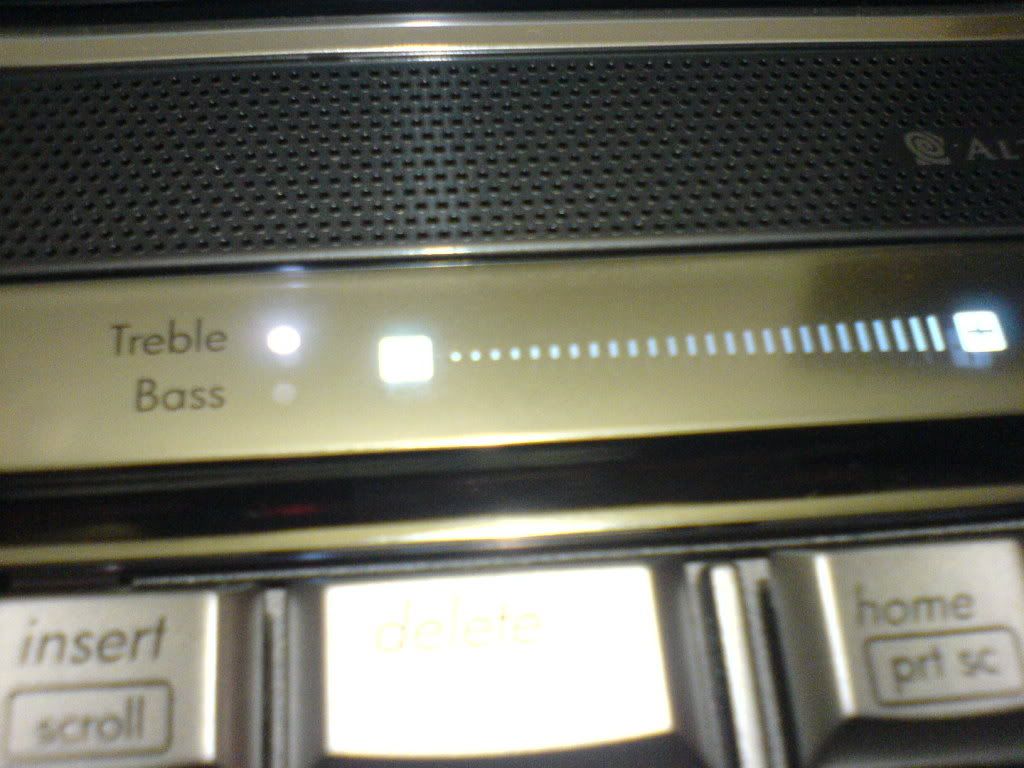
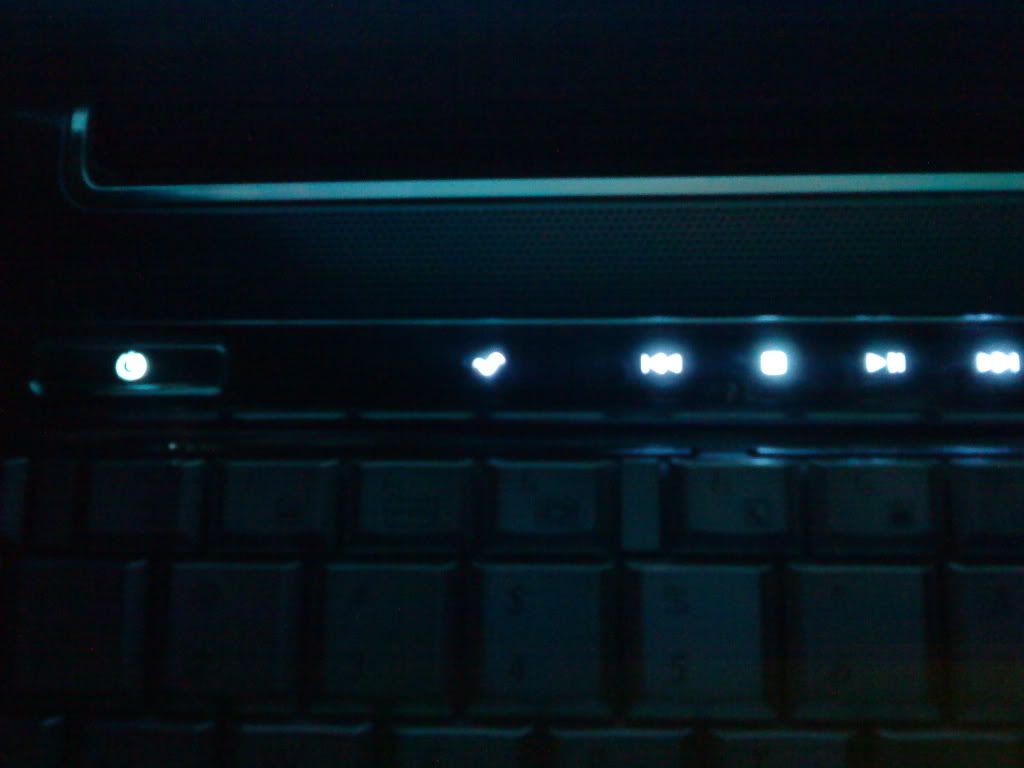
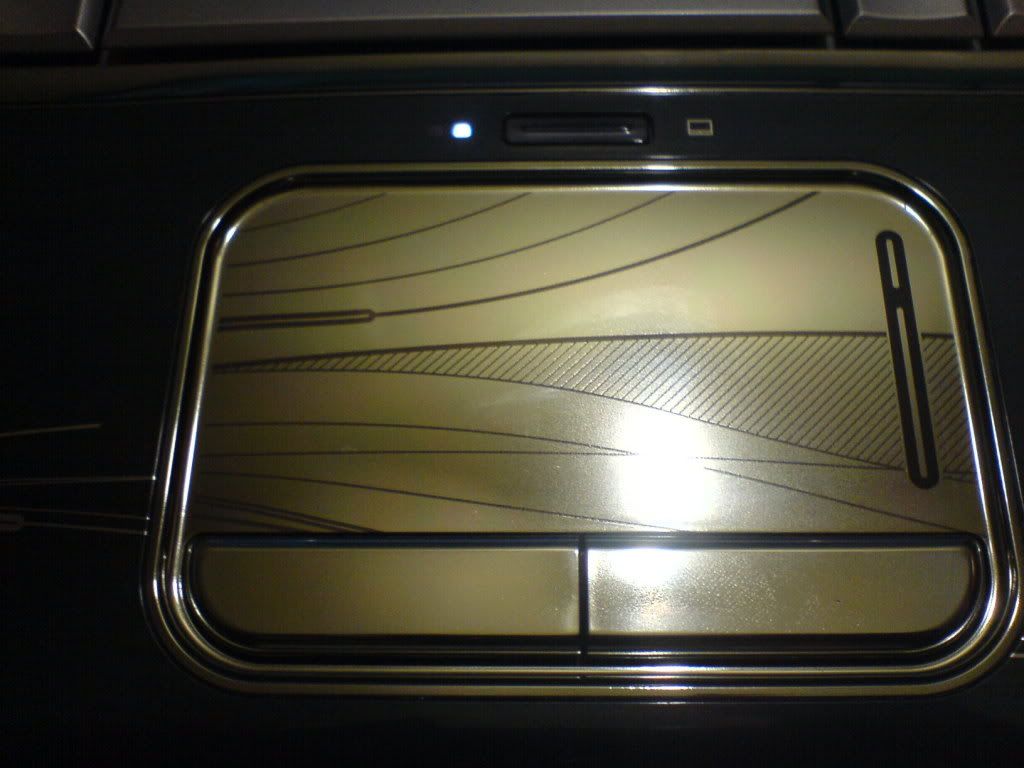
  • The touch buttons (see the pictures below!) are sometimes too responsive and sometimes not @ all responsive! (Not a very big issue coz it works almost all the time! :)
  • The battery life
  • Heat! (oh yeah its HOT!)
Long story...short...its good for a desktop replacement! But of course you can carry it around without a problem! But make sure you have an AC Outlet where ever you go... because this baby goes to sleep soon if you do not feed some electricity... So if you are looking for a notebook with a long battery life...i dont recommend this!

EDIT -> Well do not really get discouraged by the laptop battery! Because now that i have used this for sometime the battery indeed is good :) You can survive for about 1 hour if you turn off WiFi and change the power plan to "Power Saver"

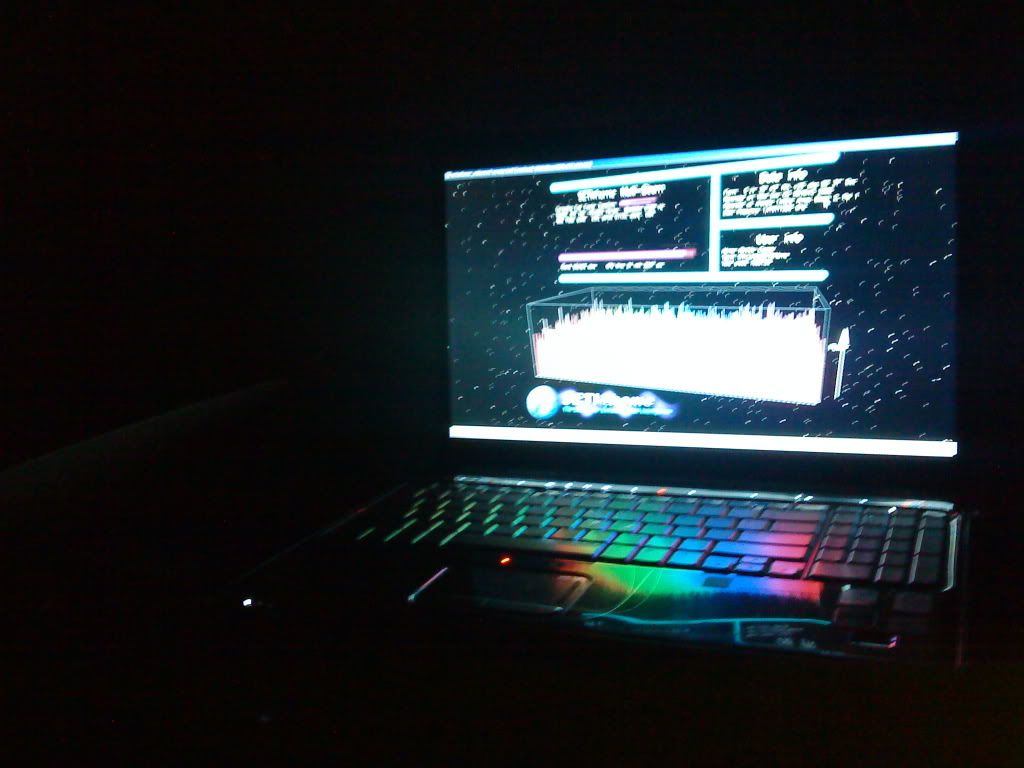
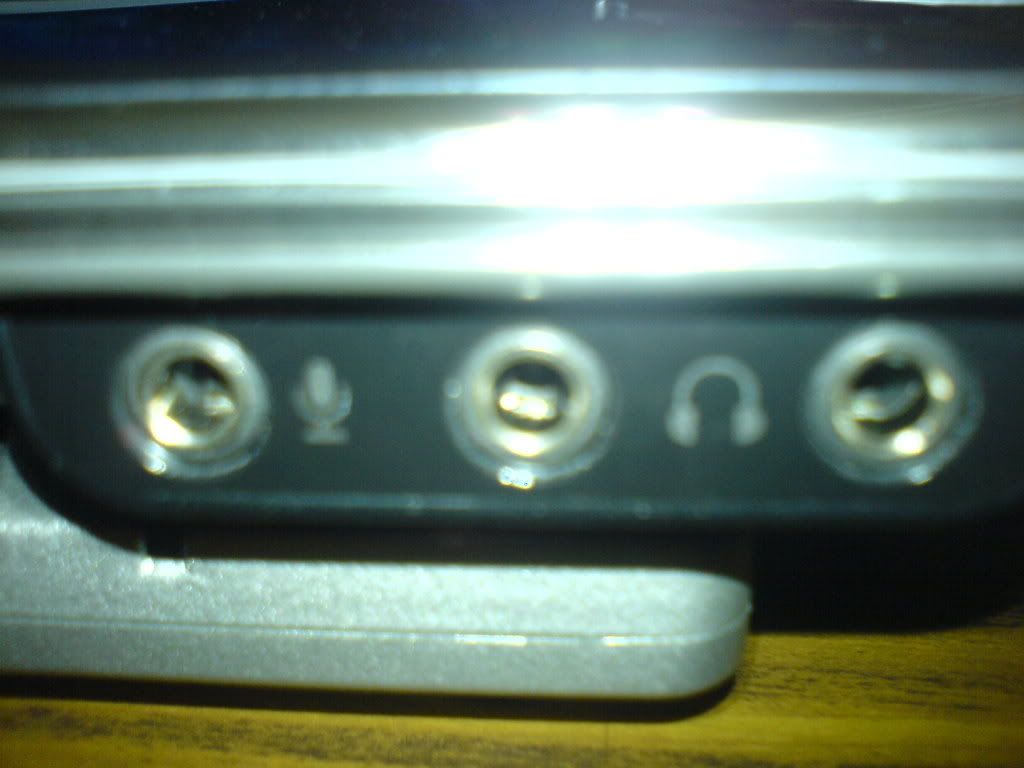
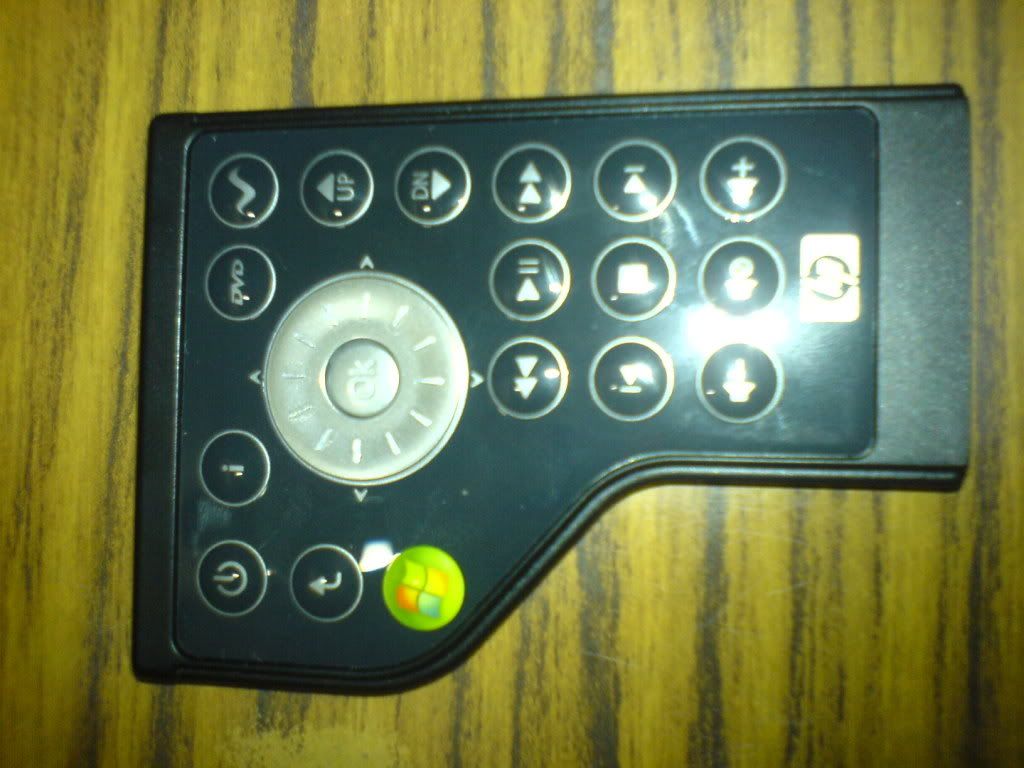
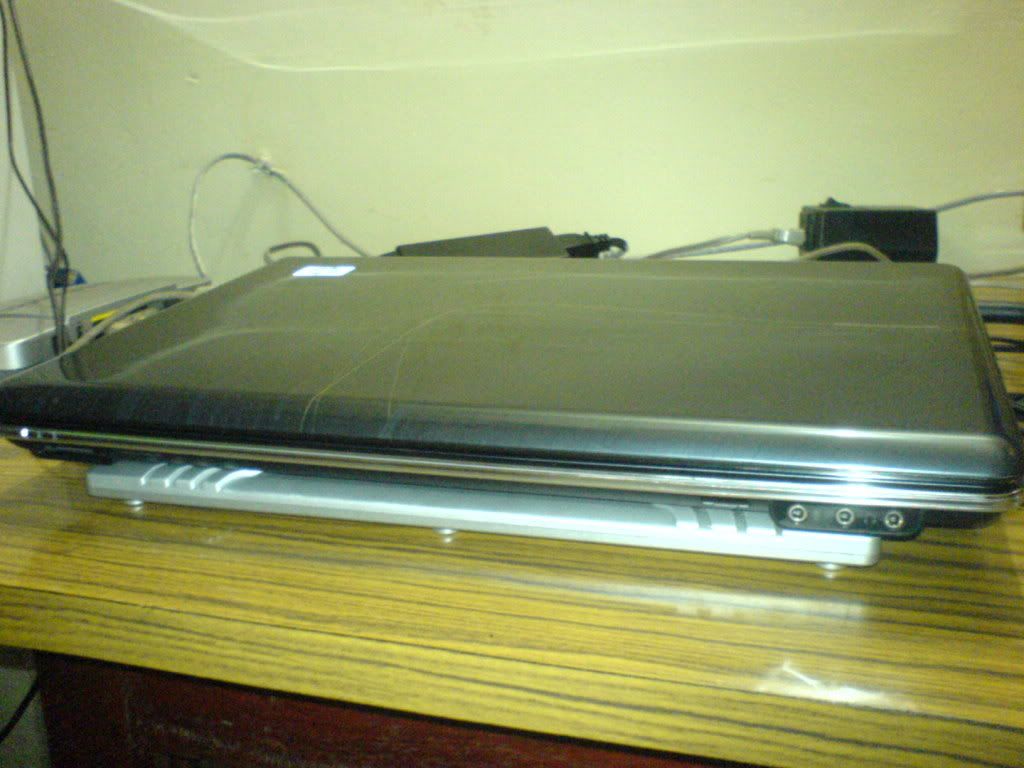
Here are some pictures i took... Click for larger pictures :)


Wednesday, December 10, 2008

Welcome!!


Hey! Its the 10th of December 2008 and its 10:54PM to be exact! This blog is going to serve the "not so pro" computer lovers on how to do their day to day computer tasks... step-by-step! I might well as post some tricks i've being using for while to keep my computer in good shape, software that is worth installing and perhaps some programming ( VB/C# or ASP .NET).

So the "REAL" techies please correct me if anything seems not right!

Hope to see you people soon...
Adios!